Testing Painting Techniques - Non-Metallic Metal

Not so long ago an ad popped up in my Facebook feed for the We Print Miniatures mystery box. I was intrigued, three random 3D printed miniatures for about a tenner (plus shipping) seemed like a good deal to me. Especially compared to Games Workshop’s prices! Gottem.
A few days later they arrived and I had the thought to use them to experiment with a few painting techniques. After all, they didn’t belong to any army or board game so what did matter if everything went wrong and it ended up looking terrible? As one of the miniatures I got was a knight in armour, I thought it a perfect chance to test out Non-Metallic Metal painting. If nothing else it would give me some much needed practice with my wet palette. As this was my first time trying this out I went with a very simple black and white scheme, additionally for this first I wasn’t going to worry too much about reflections, I just wanted to get a handle on the technique.
Lyla Mev (The Mini Witch) has a really good video on getting started with Non-Metallic Metal. Her method is to prime the model black and give it a thin coat of gloss varnish to help pick up the light, then take a series of photos from different angles as references. From there, you then divide the model into areas of base, midtones and highlights. Then it’s basically a case of paint by numbers!
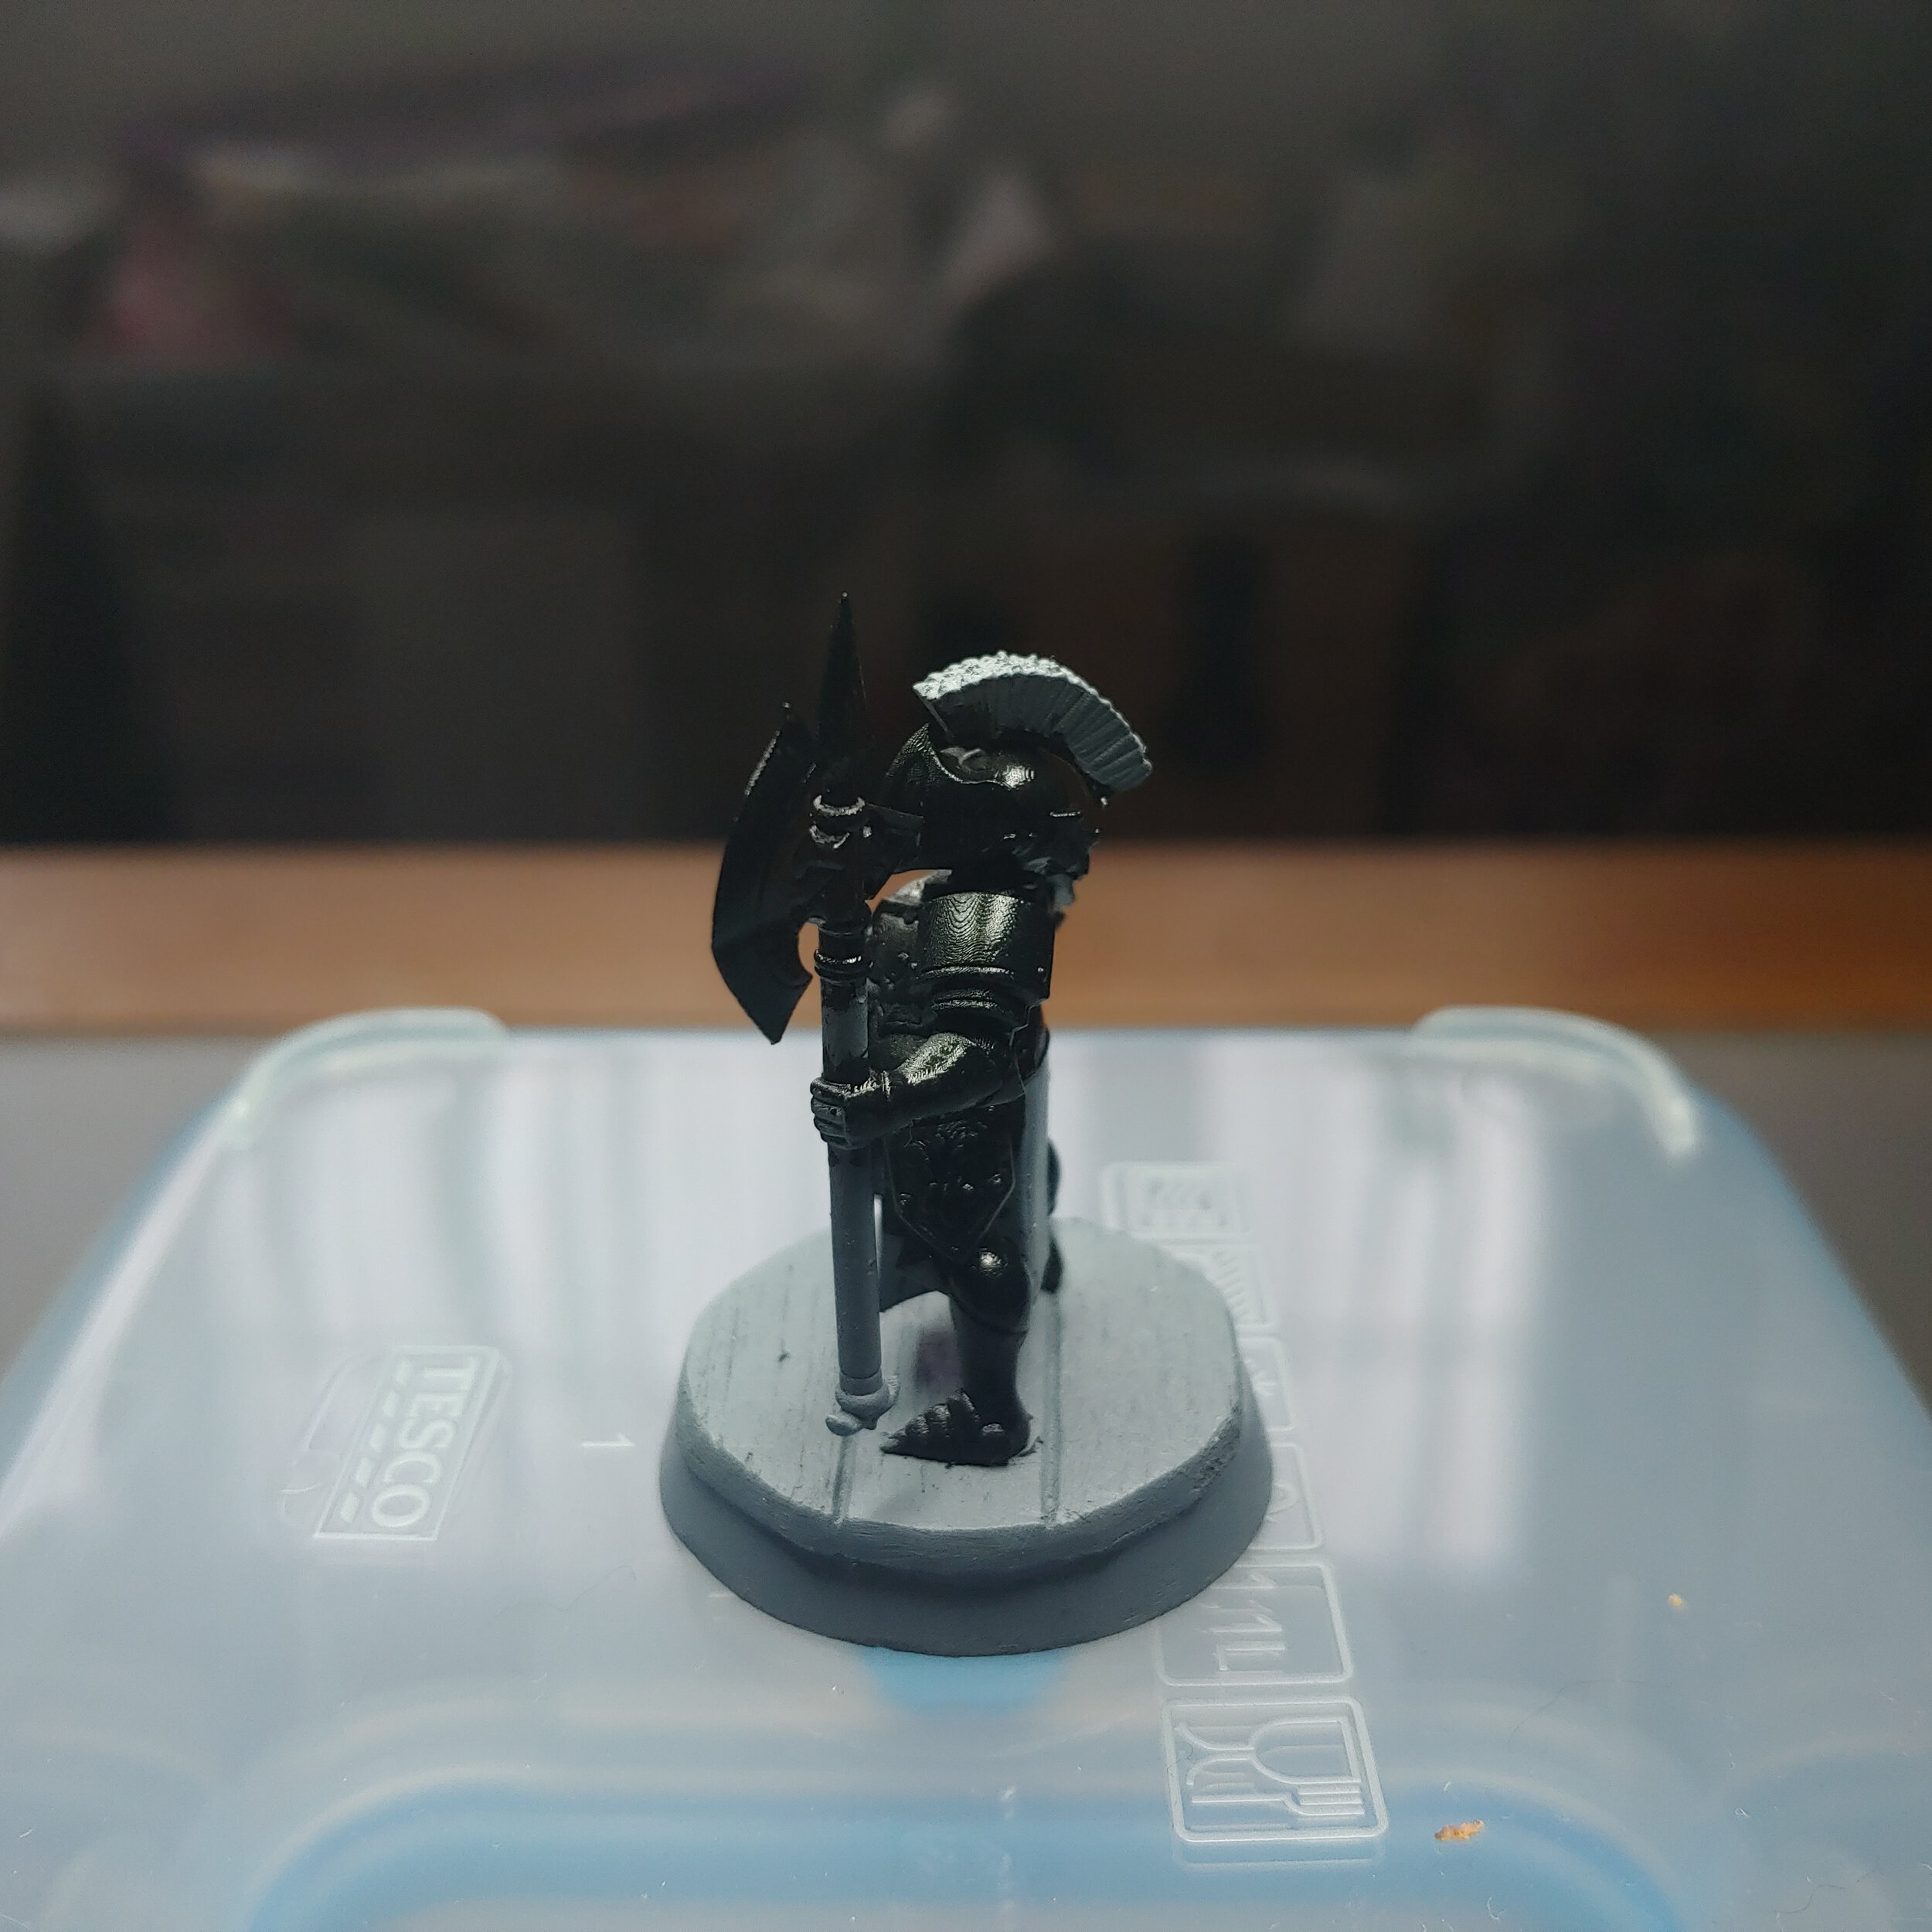


Now, I was an idiot and had already primed the knight with Army Painter Uniform Grey so I didn’t really want to spray him again, then glob on some gloss varnish. So I had the bright idea to airbrush the armour with some Vallejo Gloss Black, that way there wasn’t a risk of obscuring any details and it does the gloss step at the same time. I took four reference photos; one from the front, back and each of the sides. With that done I set up my wet palette choosing four colours: Corvus Black, Mechanicus Standard Grey, Dawnstone and Ceramite White. I set my phone on a stand next to the palette with the photos loaded up for easy reference. And with that I was ready to begin.
The first thing I did was to essentially block out the armour plates with Corvus Black, I mainly did that to remove the gloss. Next I used the reference photos to paint in all the light areas with Mechanicus Standard Grey and the brightest areas with Dawnstone. All in all, it didn’t take too long but the transitions between the midtones was very stark. So, I went back section by section to redo the highlights but this time wet blending them as best I could to make the transitions a little better. I clearly need a lot more practice but I’m happy with how this turned out for the first attempt.

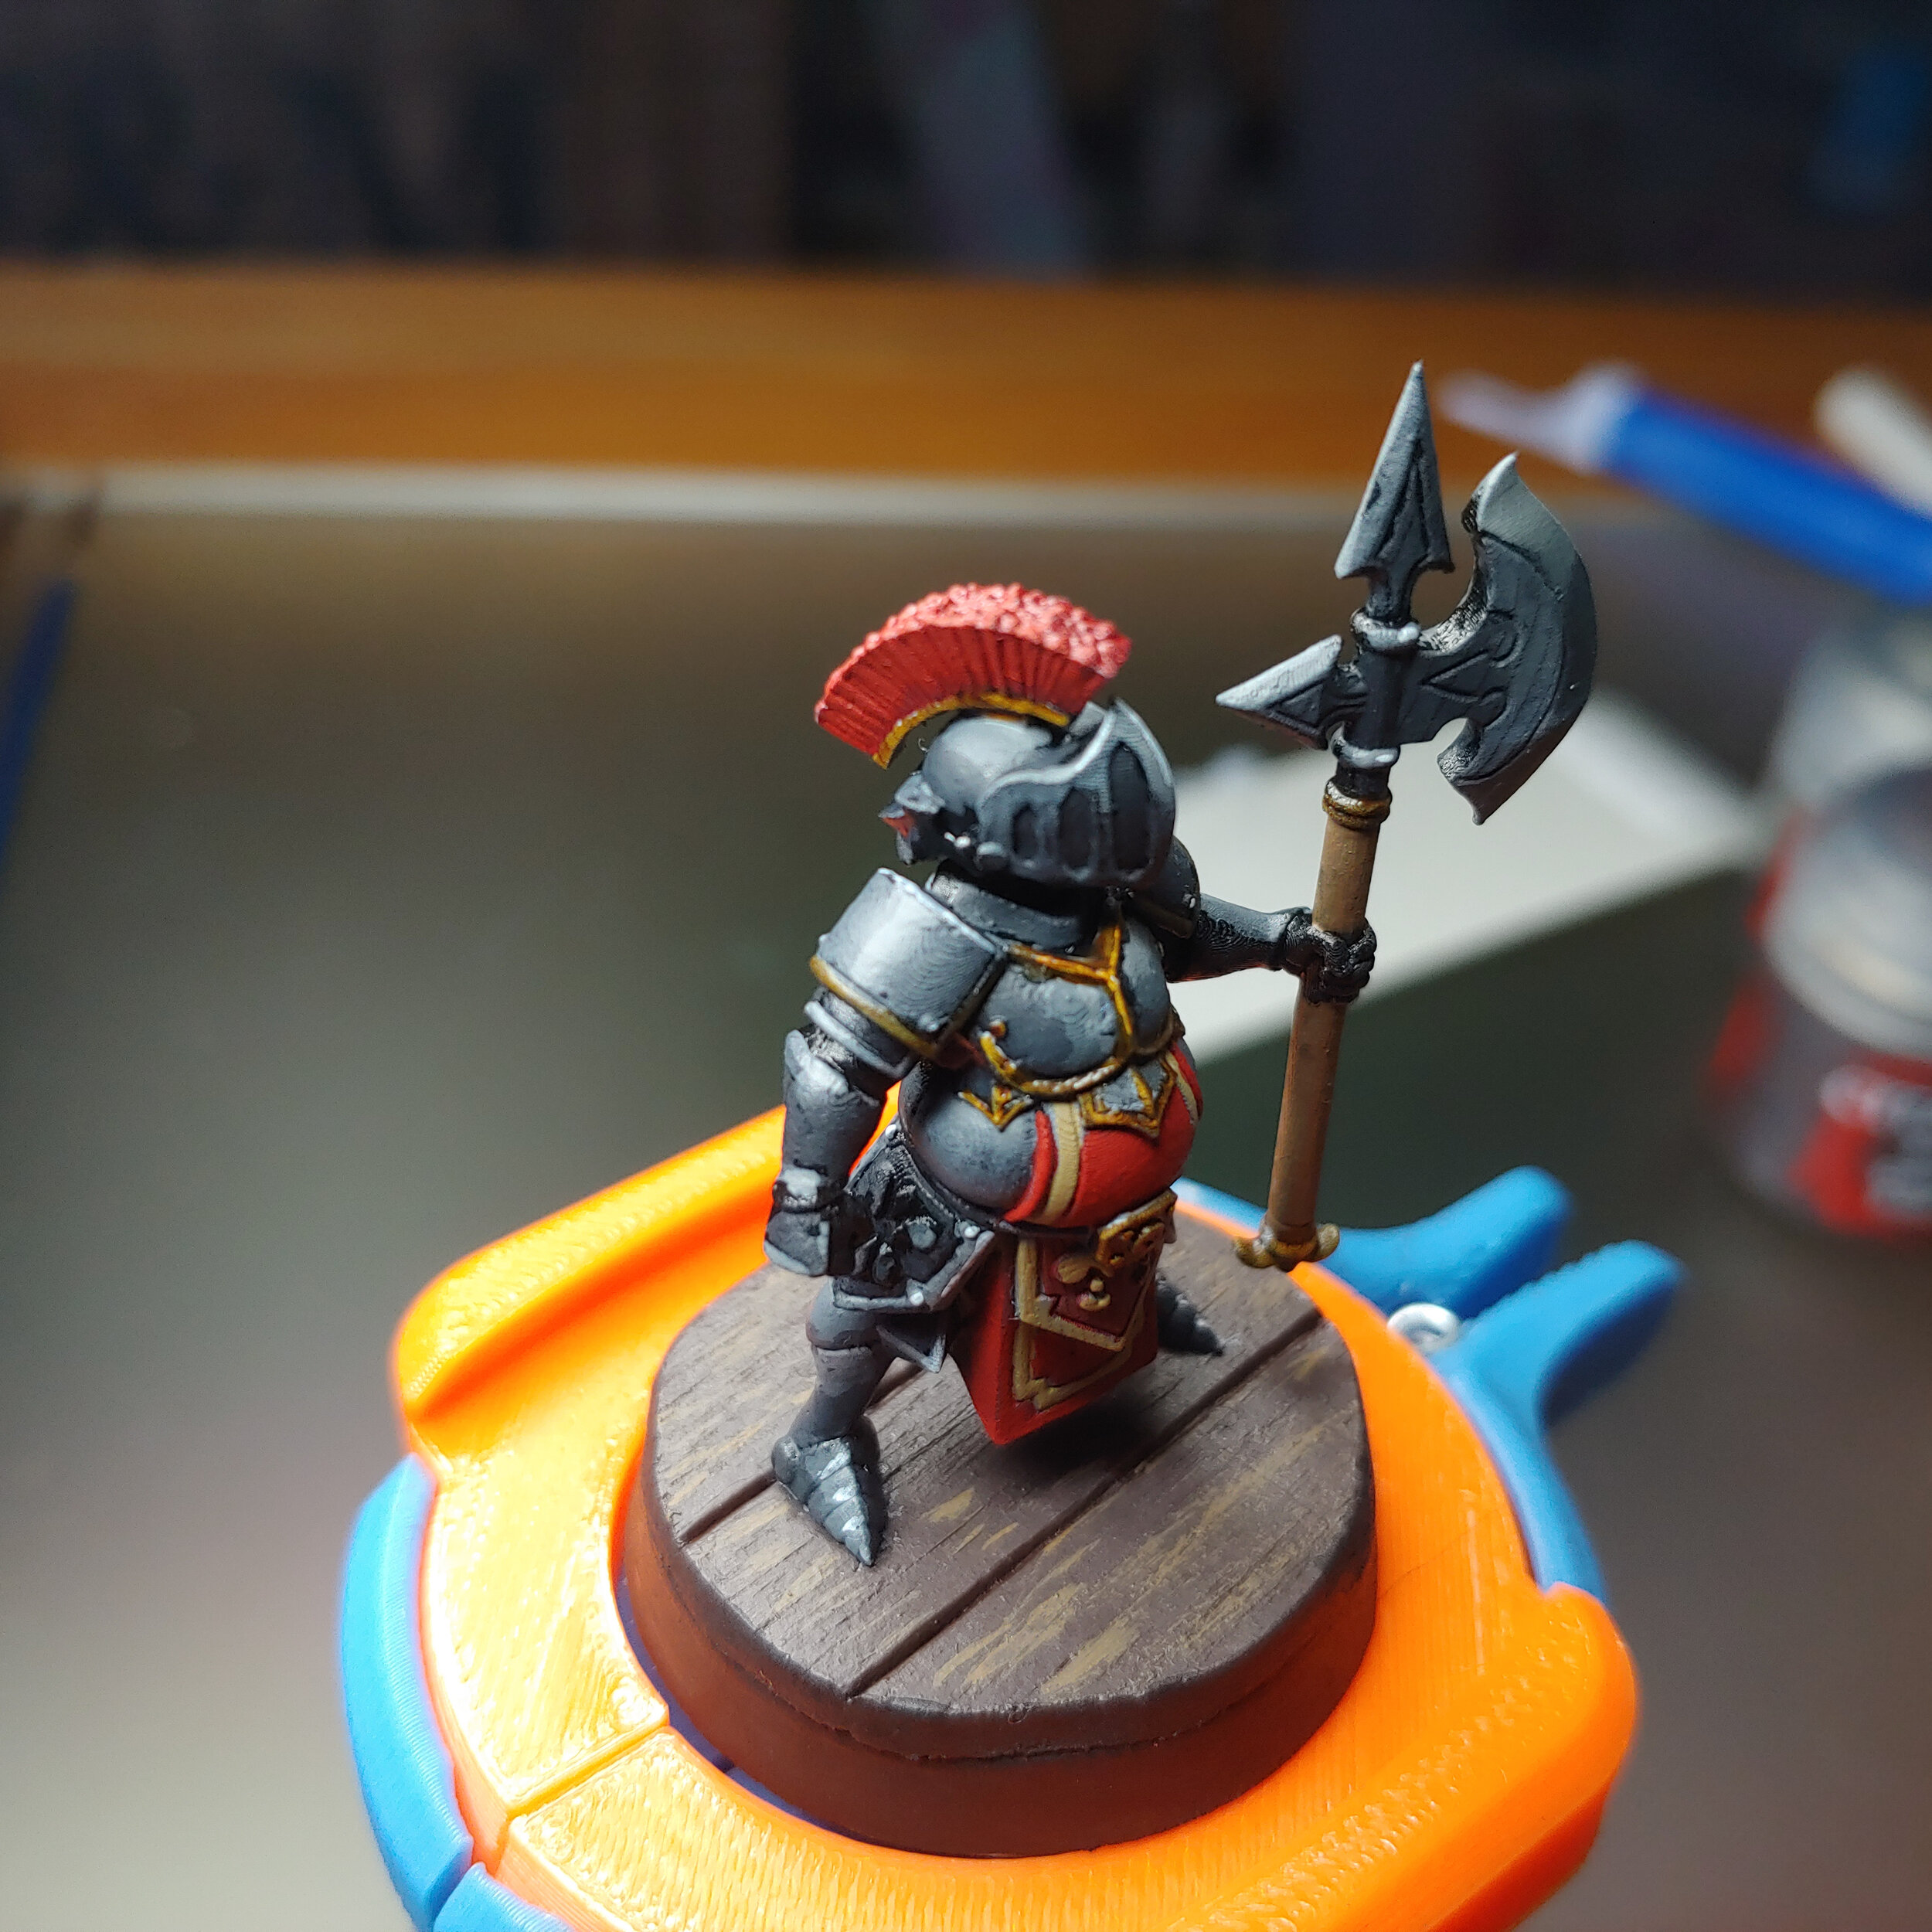
Not bad for a first try
For the rest of the model, I basically slapped whatever colours on that I liked. I used Mephiston Red and Zandri Dust for the tabard and helmet plume. I didn’t want to put any metallics on the model as I’d been playing with non-metallic metal, so I used some Snakebite Leather contrast paint on the armour trim in place of gold. For the base I painted the planks with Dryad Bark then ran some Rhinox Hide into the gaps between the boards. For the wood grain effect I painted on small lines of Steel Legion Drab. To be honest, I wasn’t all that happy with the effect but then this model is all about experimenting so I let it slide.