Warhammer 40,000 - Nurgle Daemons

I recently found myself in a rut, my current projects weren’t driving me to the painting desk the same way that they used to. Possibly because I was trying to put maximum effort into all of them, and honestly it just burned me out of the hobby for a little bit. To get myself back into the groove, I grabbed a box of Nurglings and a box of Plaguebearers.
I’m sure any Death Guard or Nurgle player will tell you they have a bitz box full of spare Nurglings. In fact the kit from which you make the piles of Nurglings comes with a ton of extras to customise your bundles of filth. So why not use all those extras to make some more Nurgling swarms? Saves me having to buy more of the kits from Games Workshop, which at £21 for three swarms is deceptively expensive even by Warhammer standards. Between the extras from the Nurglings box set, the Plaguebearers box set and any I got with Plague Marines, I ended up with nearly twenty extra Nurglings to play with.
So I grabbed some spare 40mm bases and got to work sticking down some Nurglings. I used basing materials like slate rocks, pine bark and some resin tree stumps to build up a bit of height on the bases. I didn’t want the bases to be too crowded so I went with four Nurglings per base. All in all, I ended up with four additional Nurgling “swarms”. I was a little tempted to go out and buy a Great Unclean One just to maximise the amount of Nurglings but I held off. For now.

As for the actual towers of Nurglings, I simply clipped them off the sprue and cleaned them up. I left them separate from themselves and the bases for ease of painting. The Plaguebearers proved themselves to be just as easy to build and I pretty much did them all in a single sitting. I had a lot of fun mixing and matching parts, and it was nice to build a kit that allowed such freedom for a change. So many of Games Workshop’s recent kits have been mono-pose. For the sake of my own sanity I wasn’t particularly fussed about gap filling although I can admit it’s something I need to get better at.
With assembly done, it was time to make a start on the painting. From the get go I knew I wanted to paint them in a similar method to how I had painted the Zombicide Invader Xenos, both to keep the brush work to a minimum and because the fleshy nature of the miniatures lend themselves nicely to all over washes.

To start with I primed them all with Army Painter Angel Green. As this is a really dark colour, I then used some Liquitex Titanium White acrylic ink to zenithal highlight each of the models. With that done, I then used Army Painter Jungle Green Air paint to give the models another zenithal highlight; which thanks to the previous white ink layer showed up quite nicely. The last thing I needed to do with the airbrush was some Army Painter Violet Volt Air on the bellies and on the tips of some of the horns. To take advantage of all those fleshy folds I gave them all a head to toe wash with Reikland Fleshshade. And once that was dry I brought back some of that brightness with a drybrush of Niblet Green.
And with that, they were more or less done and I could make a start on the details. I started by painting the five million boils on these models with some Vallejo Heavy Goldbrown. And once that endurance test was done I then painted the eye very carefully with Evil Sunz Scarlet. Next I painted all the teeth with Army Painter Skeleton Bone, any open sores with Screamer Pink and the entrails with Two Thin Coats Runic Purple. The Plagueswords I painted with Corvus Black followed by a drybrush of Necron Compound. For specific details I painted the Plaguebearer’s bone flute with Army Painter Skeleton and the straps with Mournfang Brown before giving it a wash with Army Painter Strong Tone. For the Plague Standard painted the shaft with Dryad Bark, and the metallics with a combination of Leadbelcher and Scale 75 Old Copper, again this was washed with Army Painter Strong Tone. For the various decapitated heads I painted them with Two Thin Coats Griffon Claw and then gave them a coat of Scale 75 Instant Colour Zombie Skin. Finally, any drips toxic goop I painted with Warpstone Glow.
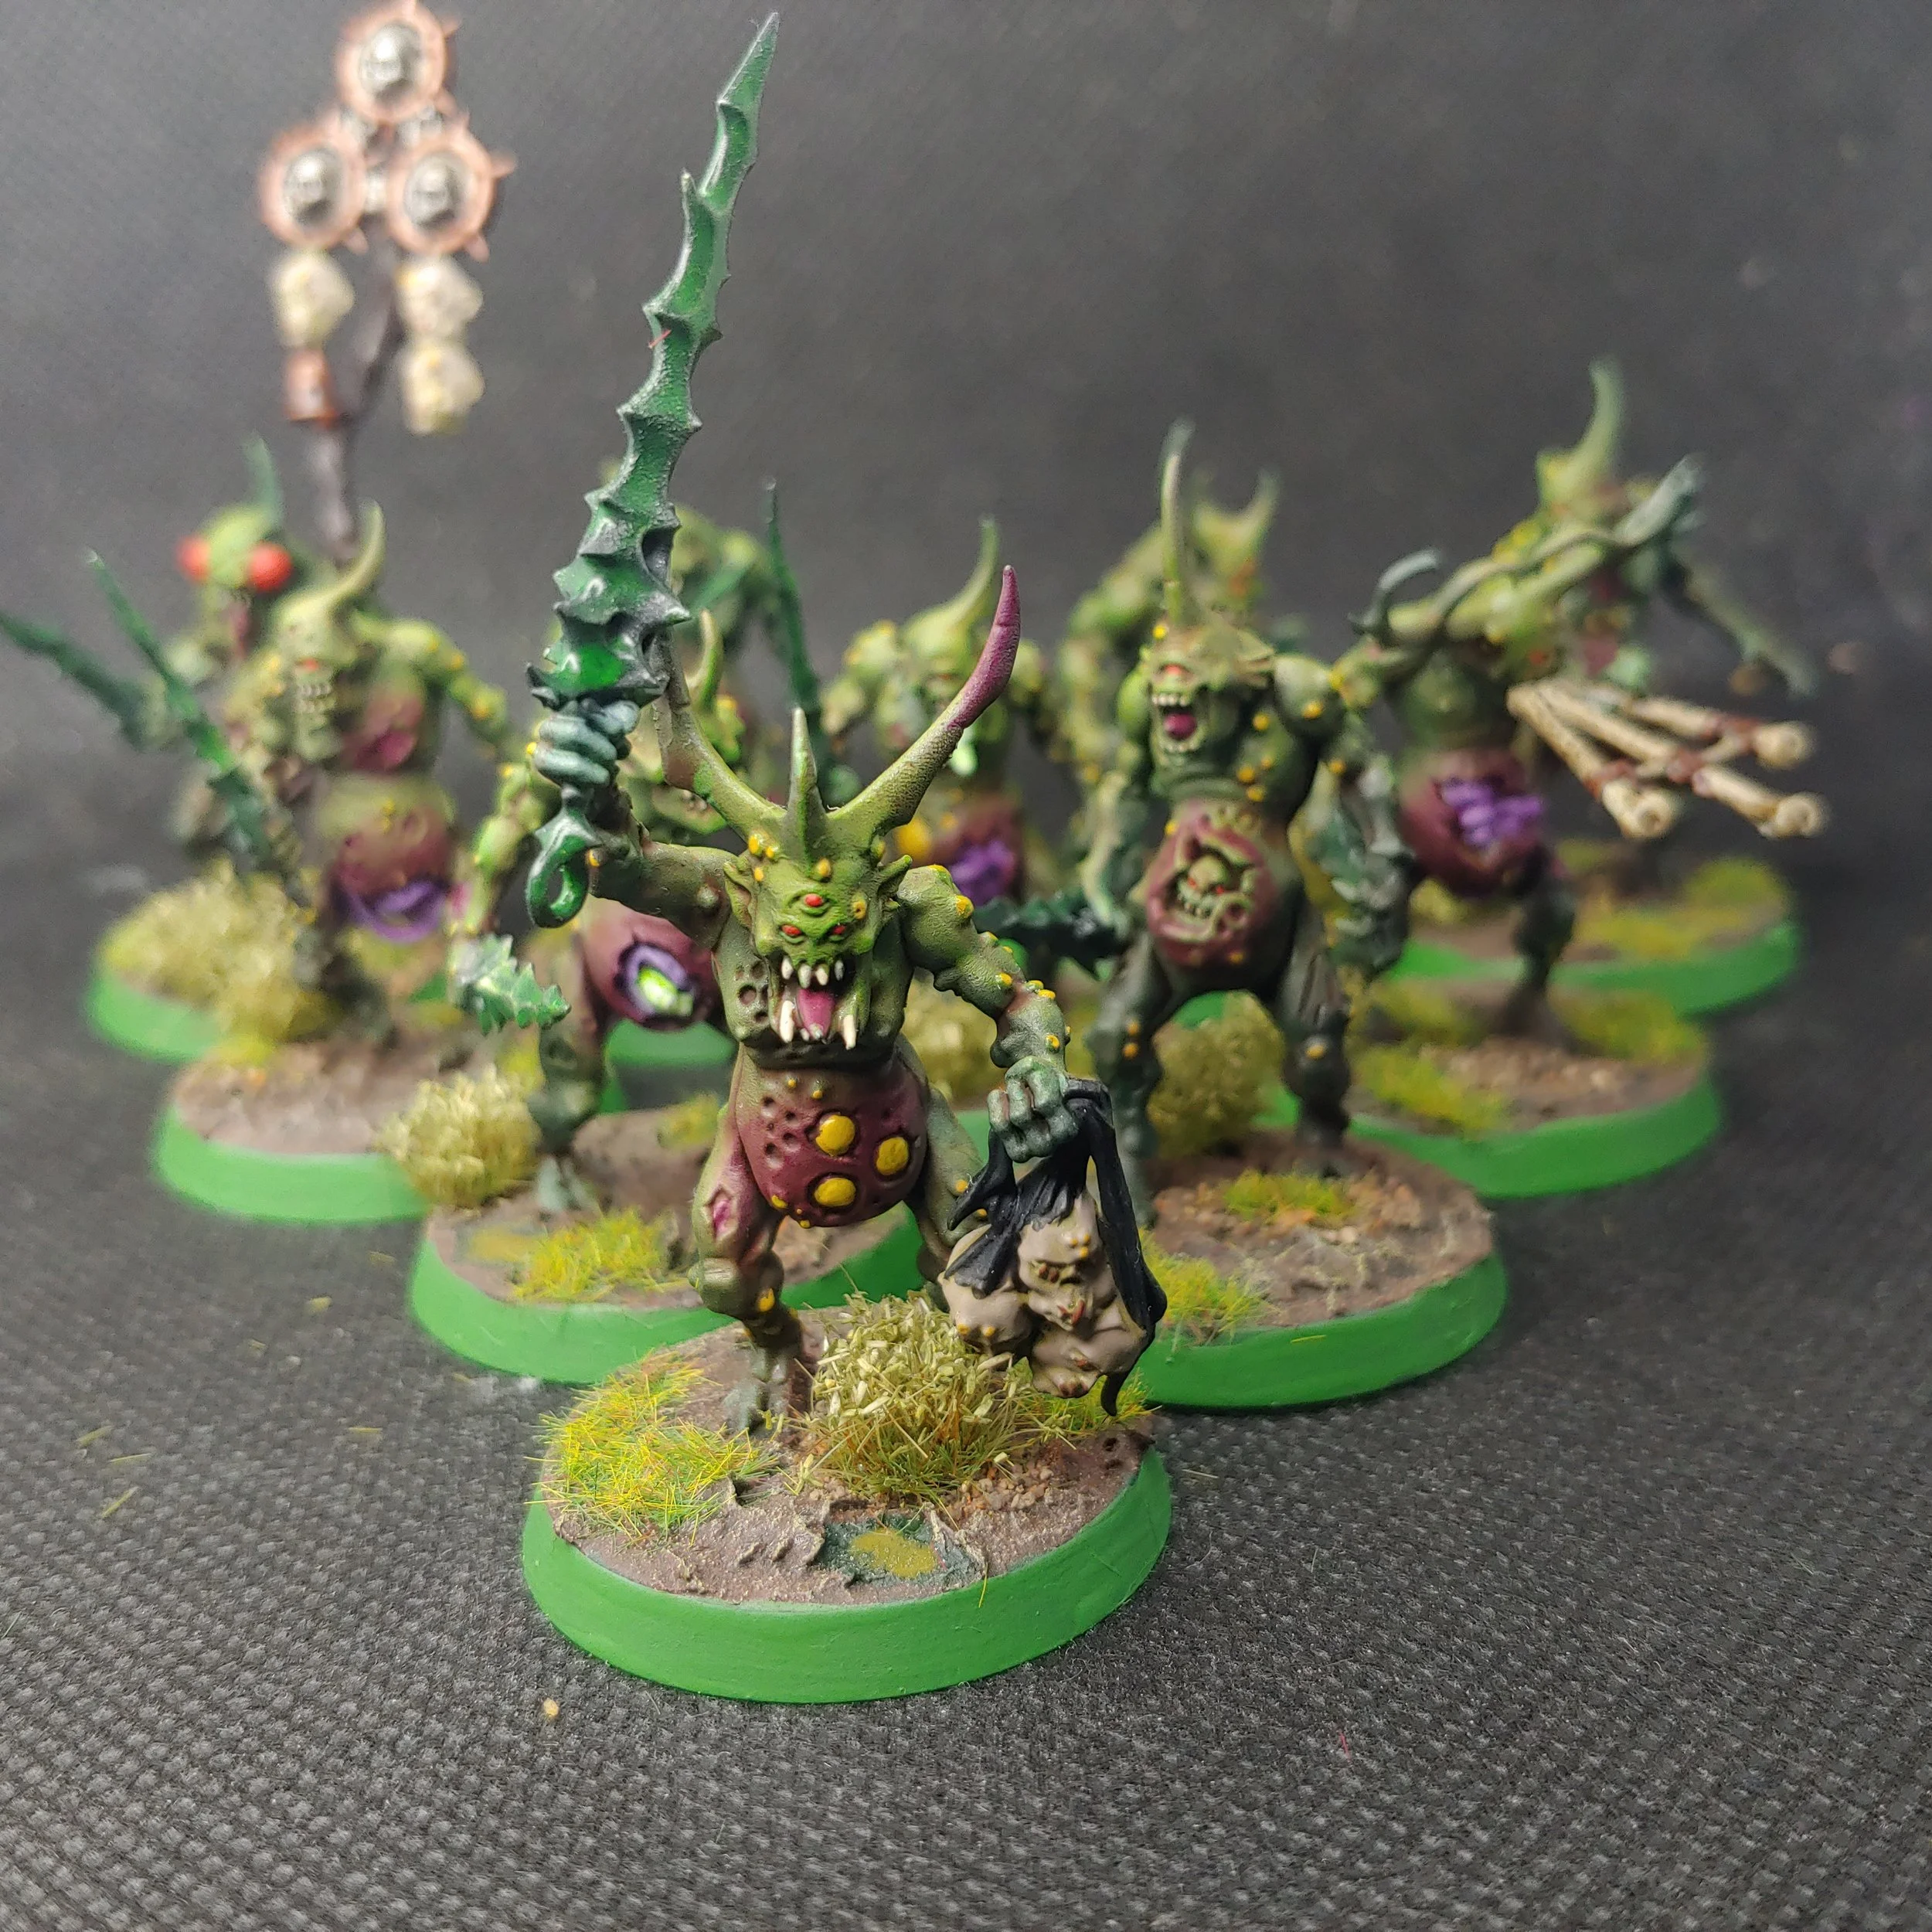
At this point I thought I was nearly done but then I realised that Army Painter Violet Volt Air is in fact a fluorescent paint. Naturally I decided to take full advantage of this and rummaged through my painting bin for my Greenstuff World fluorescent paints. I then went back over all the boils again with the Yellow and applied a layer of the Violet on all the guts any entrails. Finally applied a touch of the Lime Green to all the maggots and several thin coats to all the Plagueswords.
Finally, I could move onto the bases. I started by basecoating the terrain on the Nurglings’ bases, such as Mechanicus Standard Grey for any rocks and Dryad Bark for the tree stump. Next I applied a layer of Vallejo Brown Thick Mud to the flat areas of the bases. Once this had fully dried, I washed the whole base with Athonian Camoshade before giving it a drybrush with Tyrant Skull. I then dabbed on random splotches of Caliban Green for toxic pools before then applying a thick layer of Nurgle’s Rot in the centre of each one. The next step was to apply some thinned down PVA glue in random areas and scatter on some Geek Gaming Scenics Base Ready Forest Ground Cover. Once that was dry I did the same but this time with some static grass. I finished them off with some Army Painter Lowland Shrubs. Last of all I painted the rims of the bases with Warboss Green. Some people hate it, stanchly advocating that all base rims must be painted black but I love it. Really makes them pop in my opinion.
