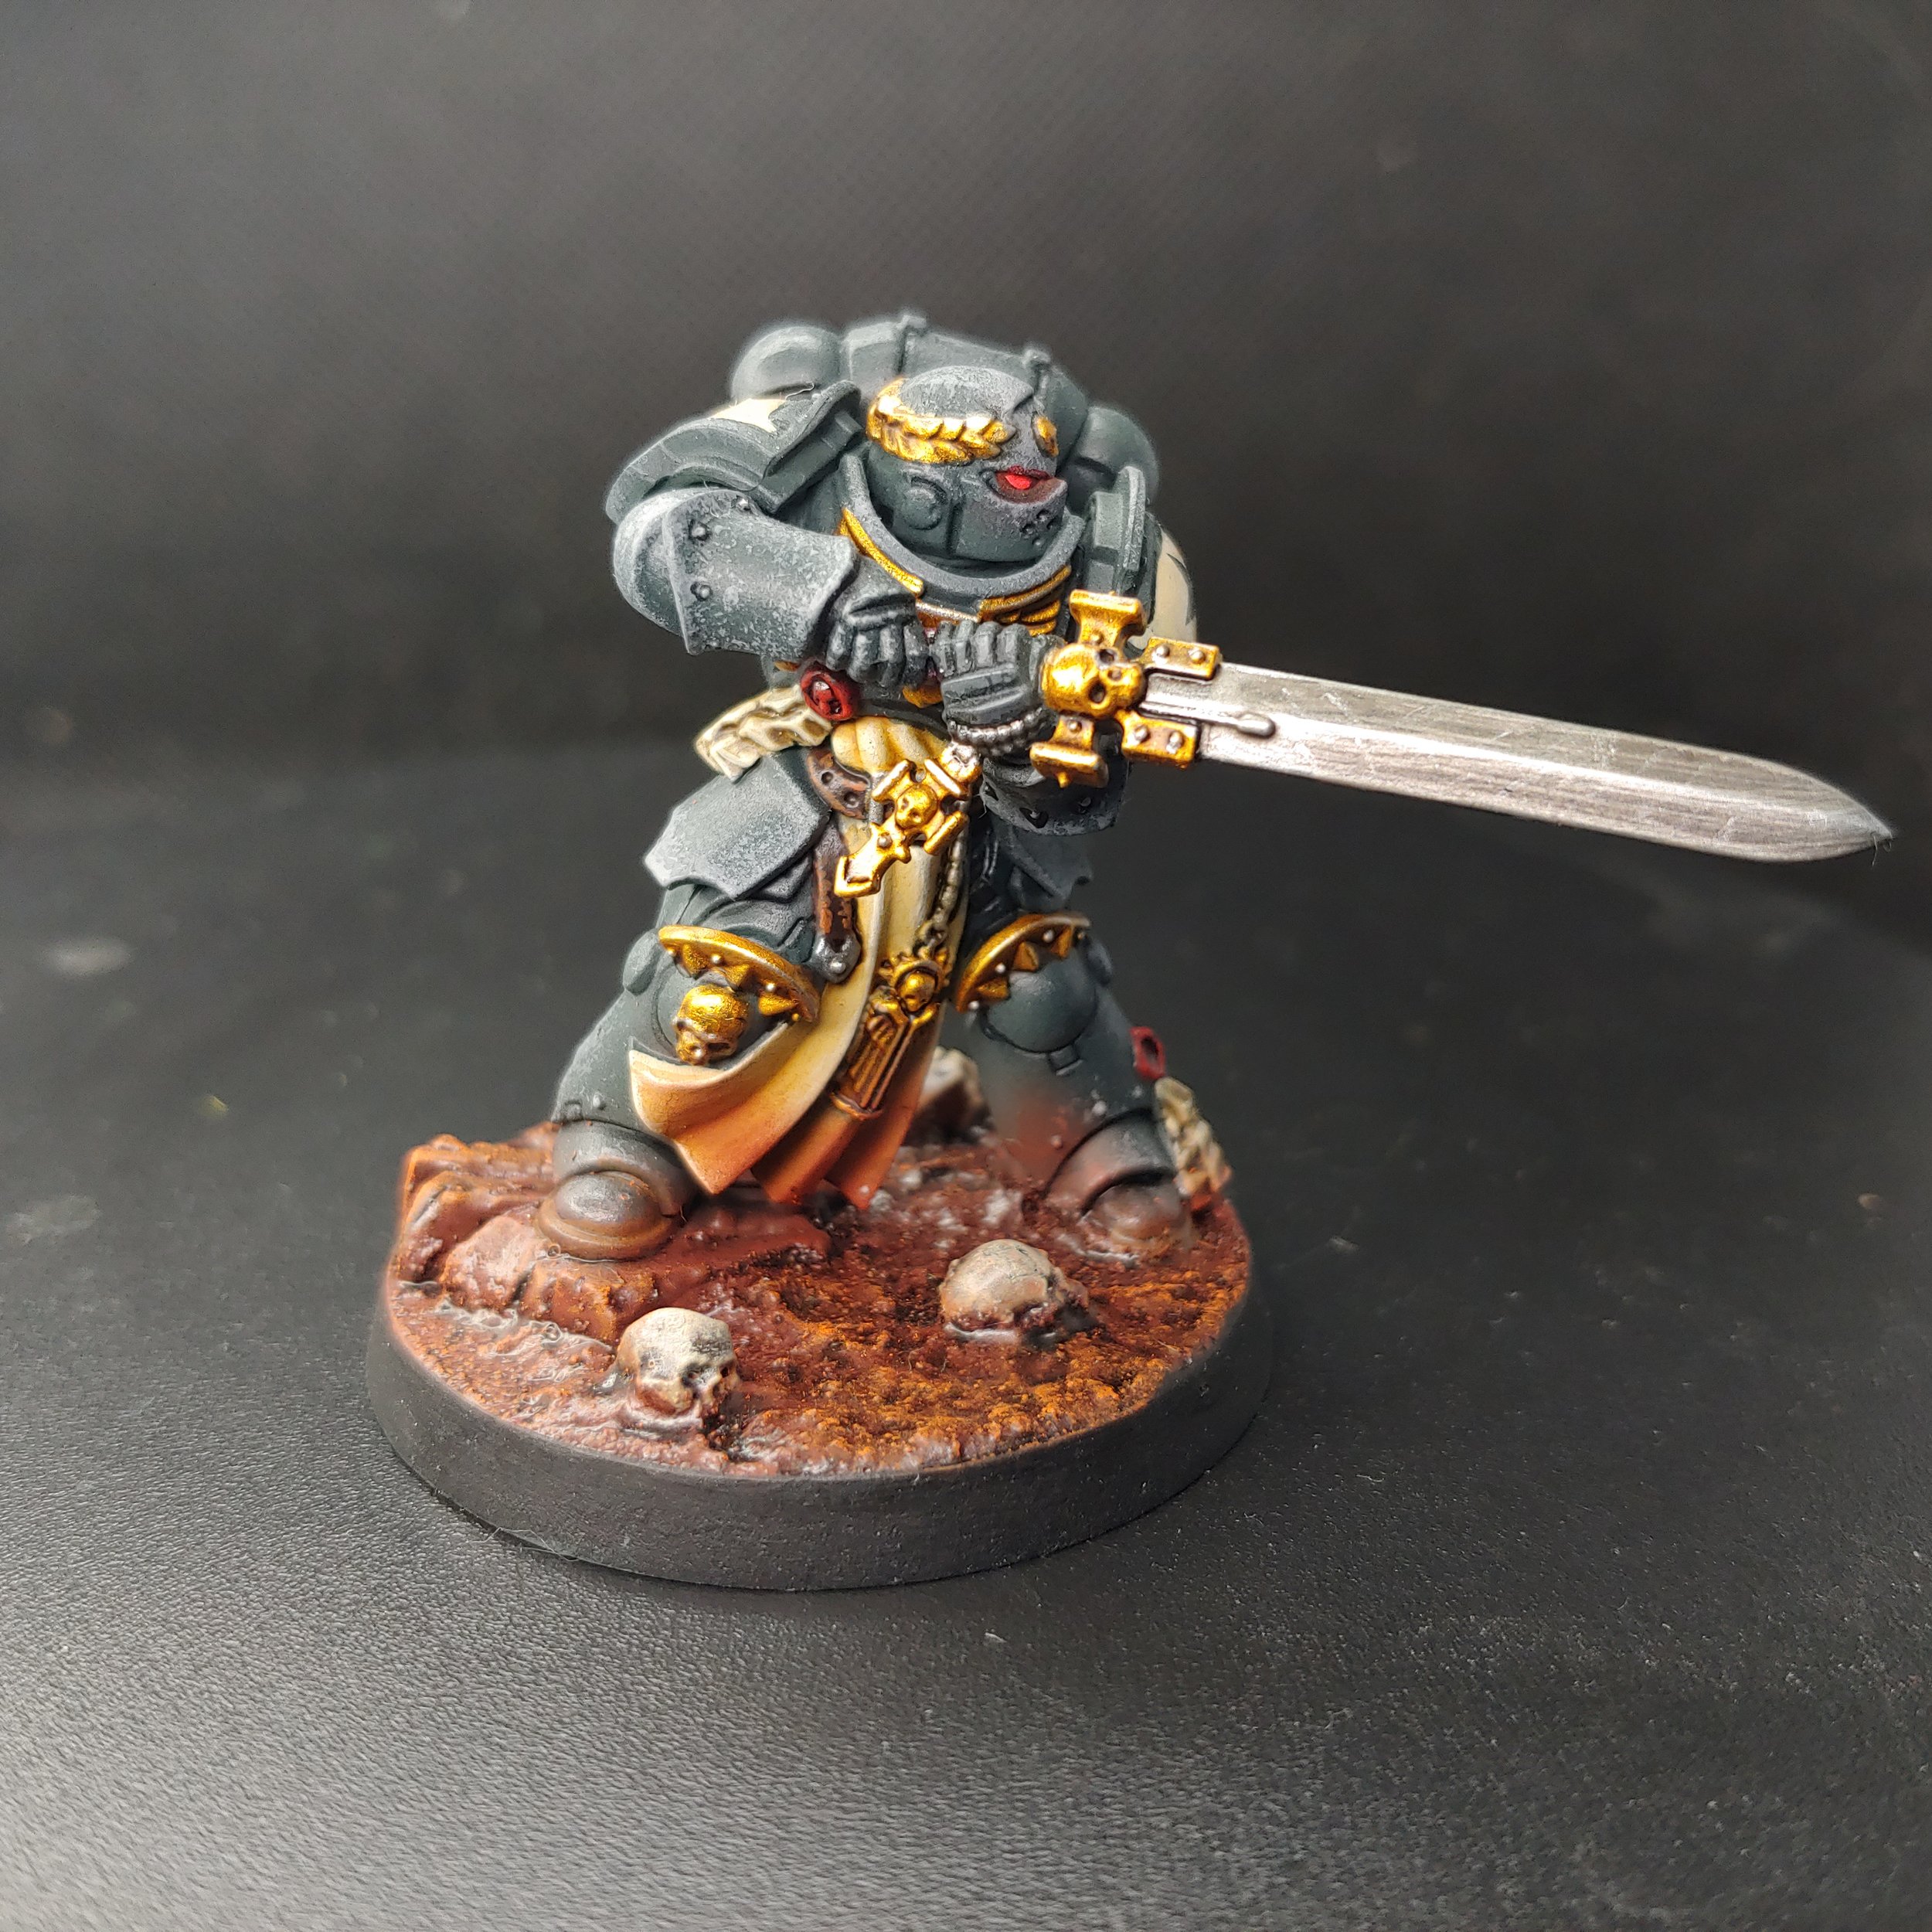
Warhammer 40,000 - Primaris Company Champion
Yet another event exclusive Space Marine, I believe I picked this up from UKGE last year although I suspect I may have ordered it Made To Order from the Games Workshop webstore.
As I’m slowly building up a small collection of Black Templar models I figured that I would paint him as such. The previous two Black Templars I had painted I spent a fair amount of time on so for this guy I wanted to test some quicker painting methods should I ever, I don’t know, pick up a squad of Black Templars. I had previously tested out chipping as a method of edge highlighting so I was keen to give it a live fire test. Additionally, I had finally gotten myself a bottle each of MicoSol and MicroSet for applying decals, so Space Marine shoulder pads seemed the ideal trial by fire.
I assembled the miniature sticking him down to the base but leaving the arms and backpack separate for ease of painting. As is tradition, I also trimmed and stuck some skulls to the base. I then covered the base with Vallejo Red Oxide texture paste, blending the tactical rock and skulls to the base so they looked like they were part of the environment rather than just stuck on top of it. Once everything had fully dried I primed them all with Colour Forge Standard Grey.
Armour Details
To start with I basecoated the armour with Army Painter Air Raven Black, technically it’s a very dark grey but it being slightly off black allows me to shade between the armour panels later with a pure black. First things first though, I dipped a bit of sponge in some Two Thin Coats Dungeon Stone, dabbing off any excess on a paper towel, and used it to add chipped effects around the edges of the armour panels. This didn’t quite stand out like I had hoped so I repeated the process with Dawnstone, which did much better at showing the edges of the armour. While I had it out I also added a dot of Dawnstone onto any of the rivets on the armour. As alluded to earlier, I finished off the armour by adding a thin line of Black Templar in the recesses.
Base coats
Moving onto the remaining details I quickly painted the joints in the armour by giving them a coat of Army Painter Speedpaint Broadsword Silver. I’ll use regular paints on the other metallic details but for quickly and easily getting the ribbed texture of the joints done in one pass, Speedpaint is ideal. Moving onto the remaining base coats I painted the belt and any pouches with Rhinox Hide, the purity seals with Vallejo Scarlet Red and the sword handle with Screamer Pink. Next I base coated the shoulder pads, loincloth and any parchment with Army Painter Skeleton Horde. For the Bayard’s Revenge Templar, I had used Ulthuan Grey for the shoulder pads but on reflection it came out brighter than I would have liked. So to keep things suitably grimdark and Blanchesque I opted for a more muted colour.
For the metallics I painted the sword blade, any chains and the vents on his backpack with Scale75 Thrash Metal. The sword hilt and decorations on his knee pads I painted with Scale75 Dwarven Gold. I was tempted to paint the laurel on his helmet green but felt it would stick out too much with all the red and brown tones on the model. It might work for an Ultramarine but not so much for a Black Templar, so with that in mind it too was base coated with Scale75 Dwarven Gold.
Washes and highlights

With the base coats done I could move onto washes and highlights. To distinguish the loincloth from other details base coated with Army Painter Skeleton Bone, I gave it a wash of Seraphim Sepia before highlighting the edges with a mix of Skeleton Bone and Vallejo Pale Sand.
The parchment details which were also base coated with Skeleton Bone I washed with Army Painter Strong Tone and then highlighted them with pure Skeleton Bone. The belt was also washed with Strong Tone, and then I highlighted it by using small scratches of Skrag Brown along the edge giving it the appearance of aged and worn leather. As I wanted the gold details to look aged and worn as well, I also washed those details with Strong Tone. I then layered with Scale75 Dwarven Gold before doing some small edge highlights with Runefang Steel.
Lastly, I washed the silver details such as the sword blade and any chains, the sword handle, and the purity seals with Army Painter Dark Tone. The latter I then highlighted with Mephiston Red. The links on the chains I highlighted with Runefang Steel, but for the sword blade rather than edge highlight it I instead used Runefang Steel to add scratches along the length of the blade.
Decals

I had finally gotten around to buying myself some Micro Sol and Micro Set so I was keen to test it out on some decals. Unfortunately, the little transfer sheet that comes with the Company Champion doesn’t have any Black Templars transfers on it. However from my days of collecting Space Wolves I have no shortage of Space Marine transfer sheets.
So I gave the shoulder pads a coat of varnish to protect them while I dug through my old transfer sheets until I found one with a couple of Templar crosses on. I then carefully removed them from the sheet to soak in a bit of water. Whilst they were soaking, I applied a thin layer of MicroSet to the shoulder pads. By the time it had dried I was ready to carefully slide the decal off the backing paper with a brush and onto the shoulder pad. I got it aligned correctly and carefully wicked away any excess water with a bit of paper towel.
Obviously, the flat decal didn’t conform to the rounded shoulder pad so I dabbed on some Micro Sol. It’s a mild solvent so it softens the decal. I left the Micro Sol to work its magic for a minute or two before using a bit of paper towel to gently press the decal into shape. I repeated the process of softening and pressing the decal until it was completely flush with the shoulder pad. Micro Set and Micro Sol leave a gloss finish so once I was happy with how the transfer was looking I then gave the shoulder pads a coat of matt varnish. Lastly, to really sell that painted on look I did a very small amount of sponge chipping on the decal with some Army Painter Skeleton Bone.
Base

With the model done I switched back to the base, using the airbrush to give it an even coat of Daler-Rowney Red Earth acrylic ink. Letting some of the ink get onto the model, around the feet and the base of the loincloth, really helps to sell the model as part of the environment rather than standing on top of it. With that done I drybrushed the skulls with Army Painter Skeleton Bone, again this was done to carefully build up a transition between the skulls and the base so that it looked like the skulls had been stuck in the dirt for a while. To blend everything together I then gave the base a wash of Army Painter Dark Tone, this can have a bit of a gloss finish so I then gave the base a coat of matt varnish. Then to bring out the texture of the base, I gave it a drybrush of Ryza Rust carefully avoiding getting any on the skulls. Lastly, I painted the rim of the base black.
Final thoughts
I am really pleased with how this turned out. I got to test some new techniques and products and they have all come up aces. I have said before and I’ll say it again, I may legit need to start collecting Black Templars. Of course, I have no space for a new army and a bunch of Adepta Sororitas that I need to assemble and paint first. So the Eternal Crusade will have to wait for the time being!