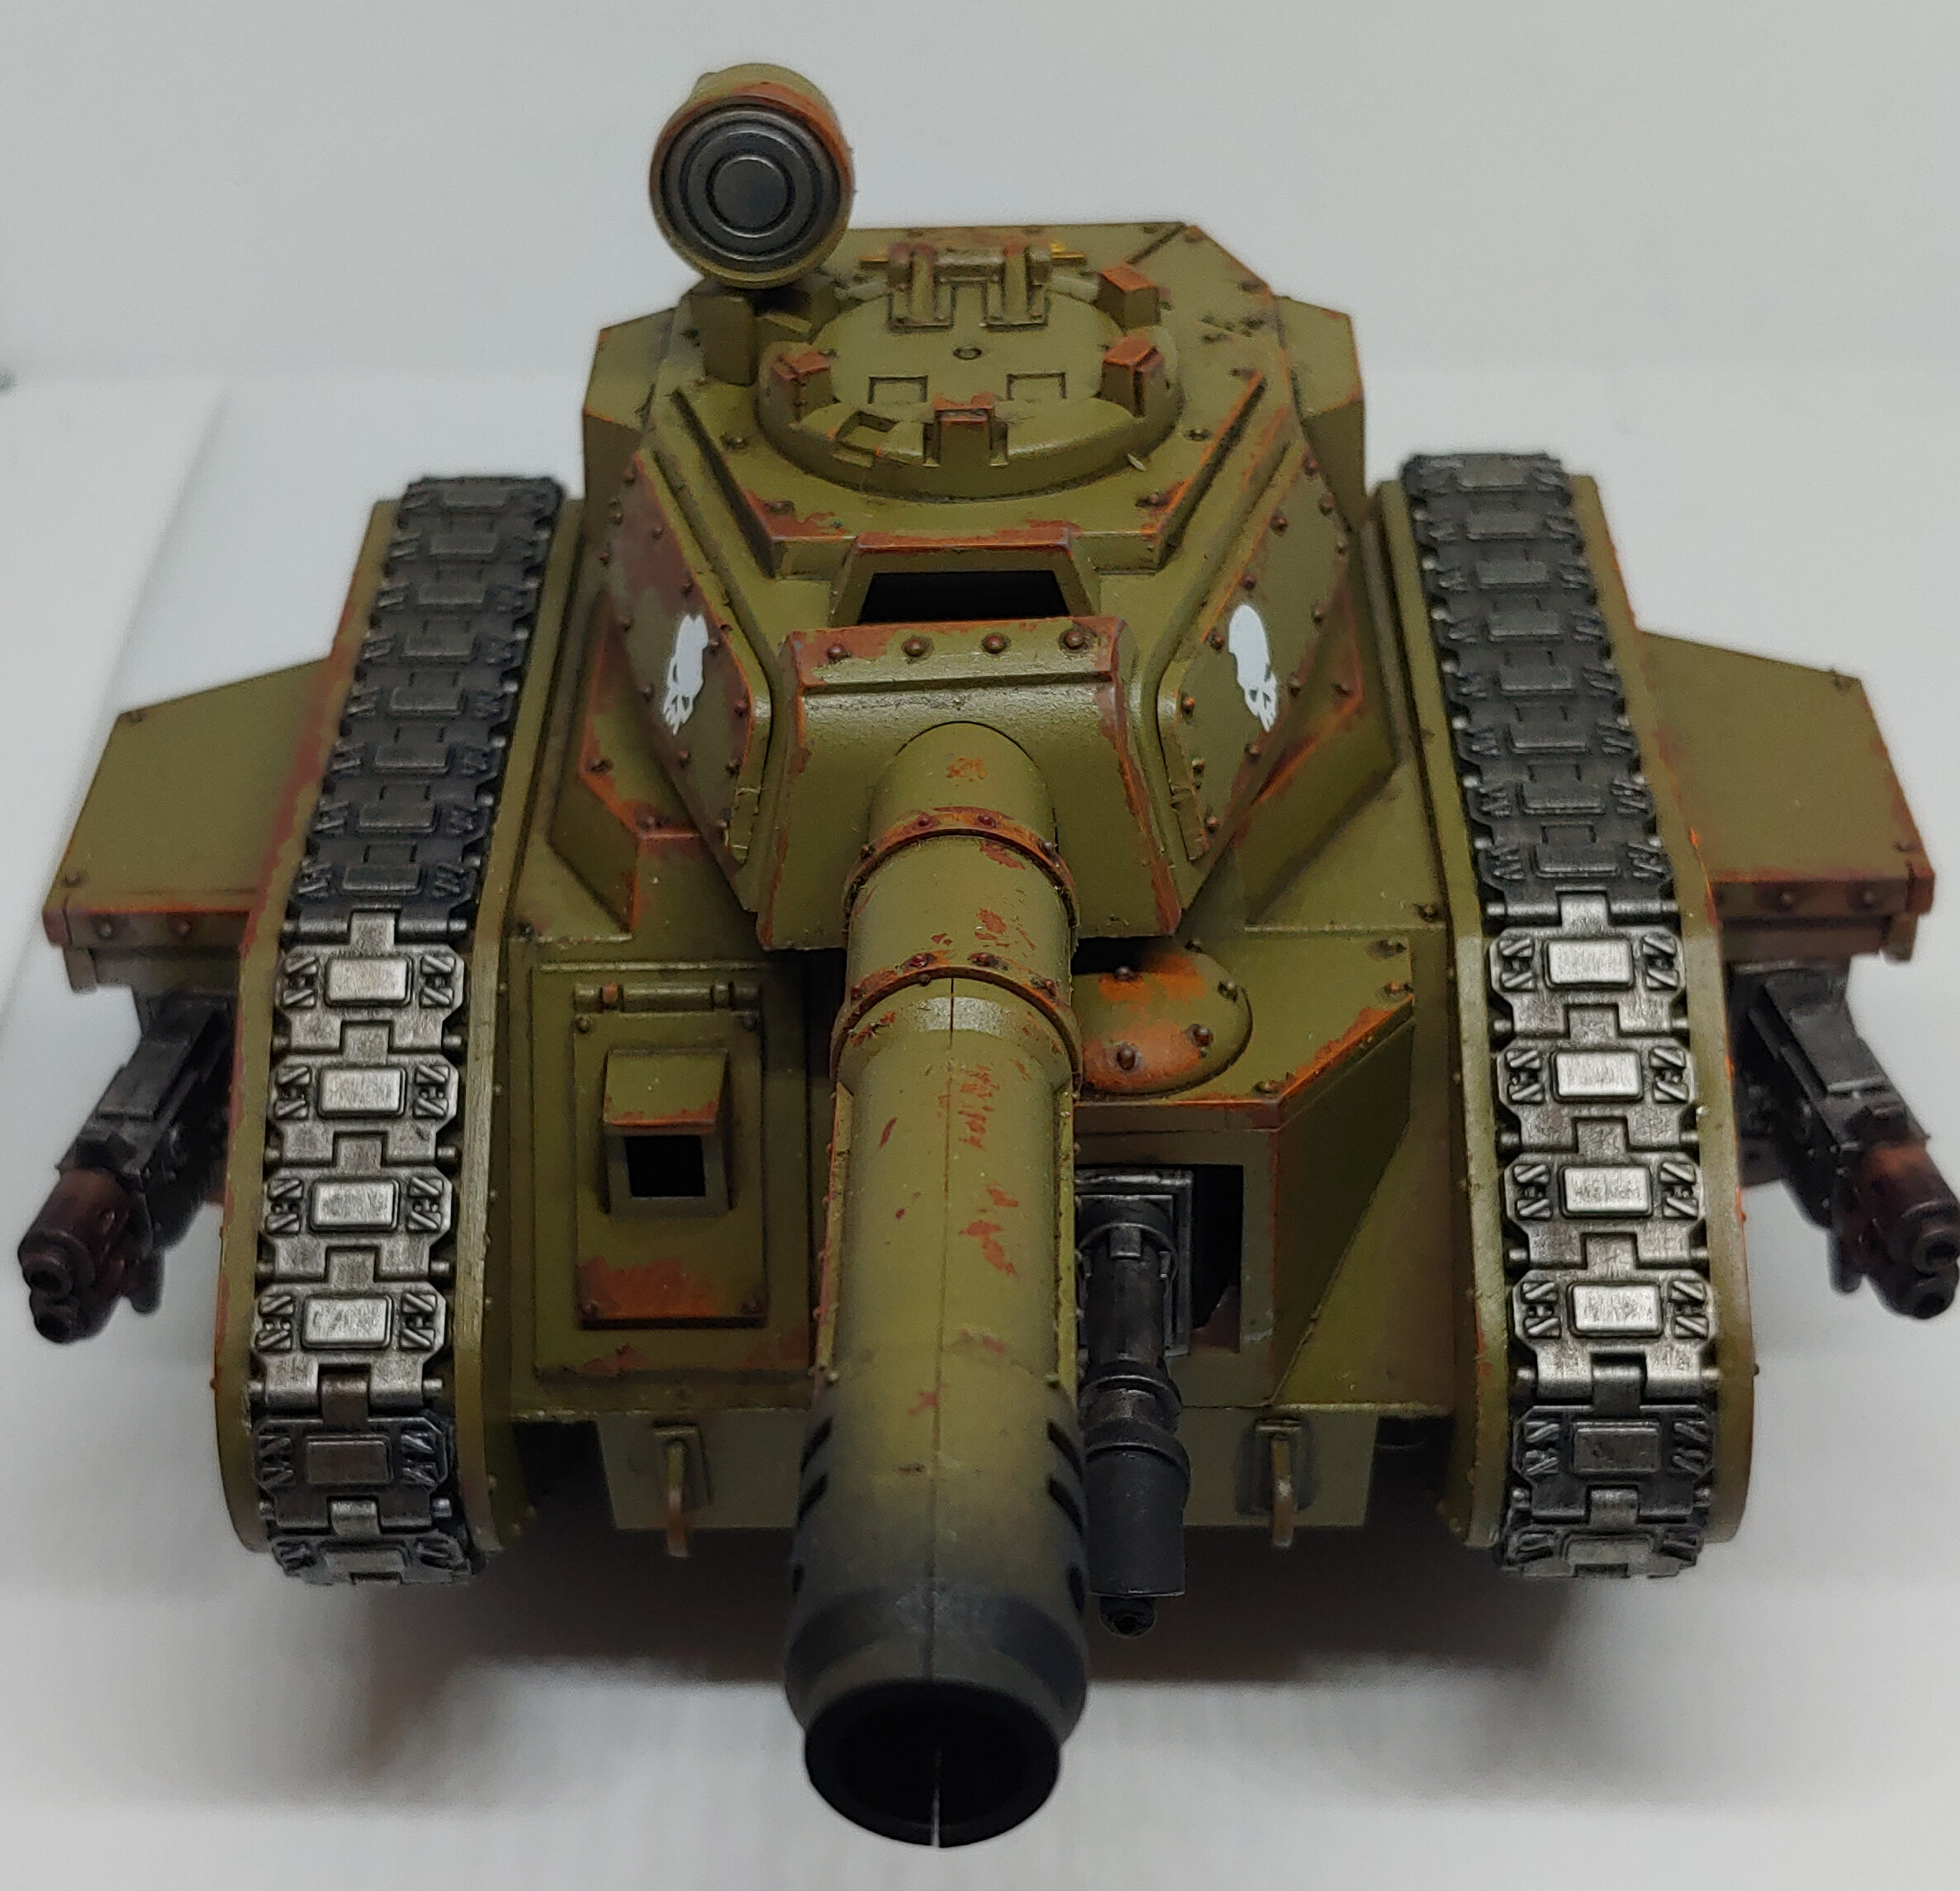
Warhammer 40,000 - Leman Russ Vanquisher
As my first Leman Russ built, if you discount the wrecked Leman Russ I inherited from my brother and now use as a terrain piece, then it is going to have to be the Vanquisher. As the Vanquisher Battle Cannon is made for putting holes in other tanks I decided to lean into the anti-tank role with a Lascannon as secondary hull mounted weapon and multi-melta side sponsons. Assembly was pretty easy, much more so than the Plagueburst Crawler at any rate. The only real issue was that the tank commander is glued to the underside of the turret hatch, which makes it a little difficult if you want to leave him separate to paint, otherwise you need to leave the base of the turret unglued. In the end, I decided not to bother and just went with a closed hatch. As far as sub-assemblies go, I left the track segments on the sprue as it would make them easier to paint and I wouldn’t need to be as careful airbrushing the main body of the Leman Russ.
In any case assembly was completed in short order and I quickly moved onto priming the hull and turret in Vallejo’s German Red Brown Primer which makes for a nice rust coloured undercoat. I left the model a couple of days for the primer to fully cure, it takes at least 24 hours otherwise you run the risk of the primer coming off. Similar to the Plagueburst Crawler I used some Vallejo Camouflage Medium Brown in the recesses to create shadows in the rust. Finally, I drybrushed the whole model with Ryza Rust to pick out the edges and raised areas.
After that it was time to get sticky with some Vallejo Liquid Mask. Using a bit of sponge I applied the latex solution in the areas that I wanted to chip. I gave it an hour or so to dry, or until the latex was transparent. Then I painted all of the hull with Ammo Green Moss, I love using this colour as apparently it’s the same colour that British tanks in the First World War were painted with. Also, it flows really nicely through an airbrush. Once it was dry I used a stiff brush to very carefully remove the latex, exposing the rusted layer underneath. This has to be done carefully, otherwise you run the risk of taking off the undercoat as well. Had I used a lacquer undercoat I wouldn’t have to be quite so gentle. Alas, I don’t have any yet so gentle chipping was the order of the day.

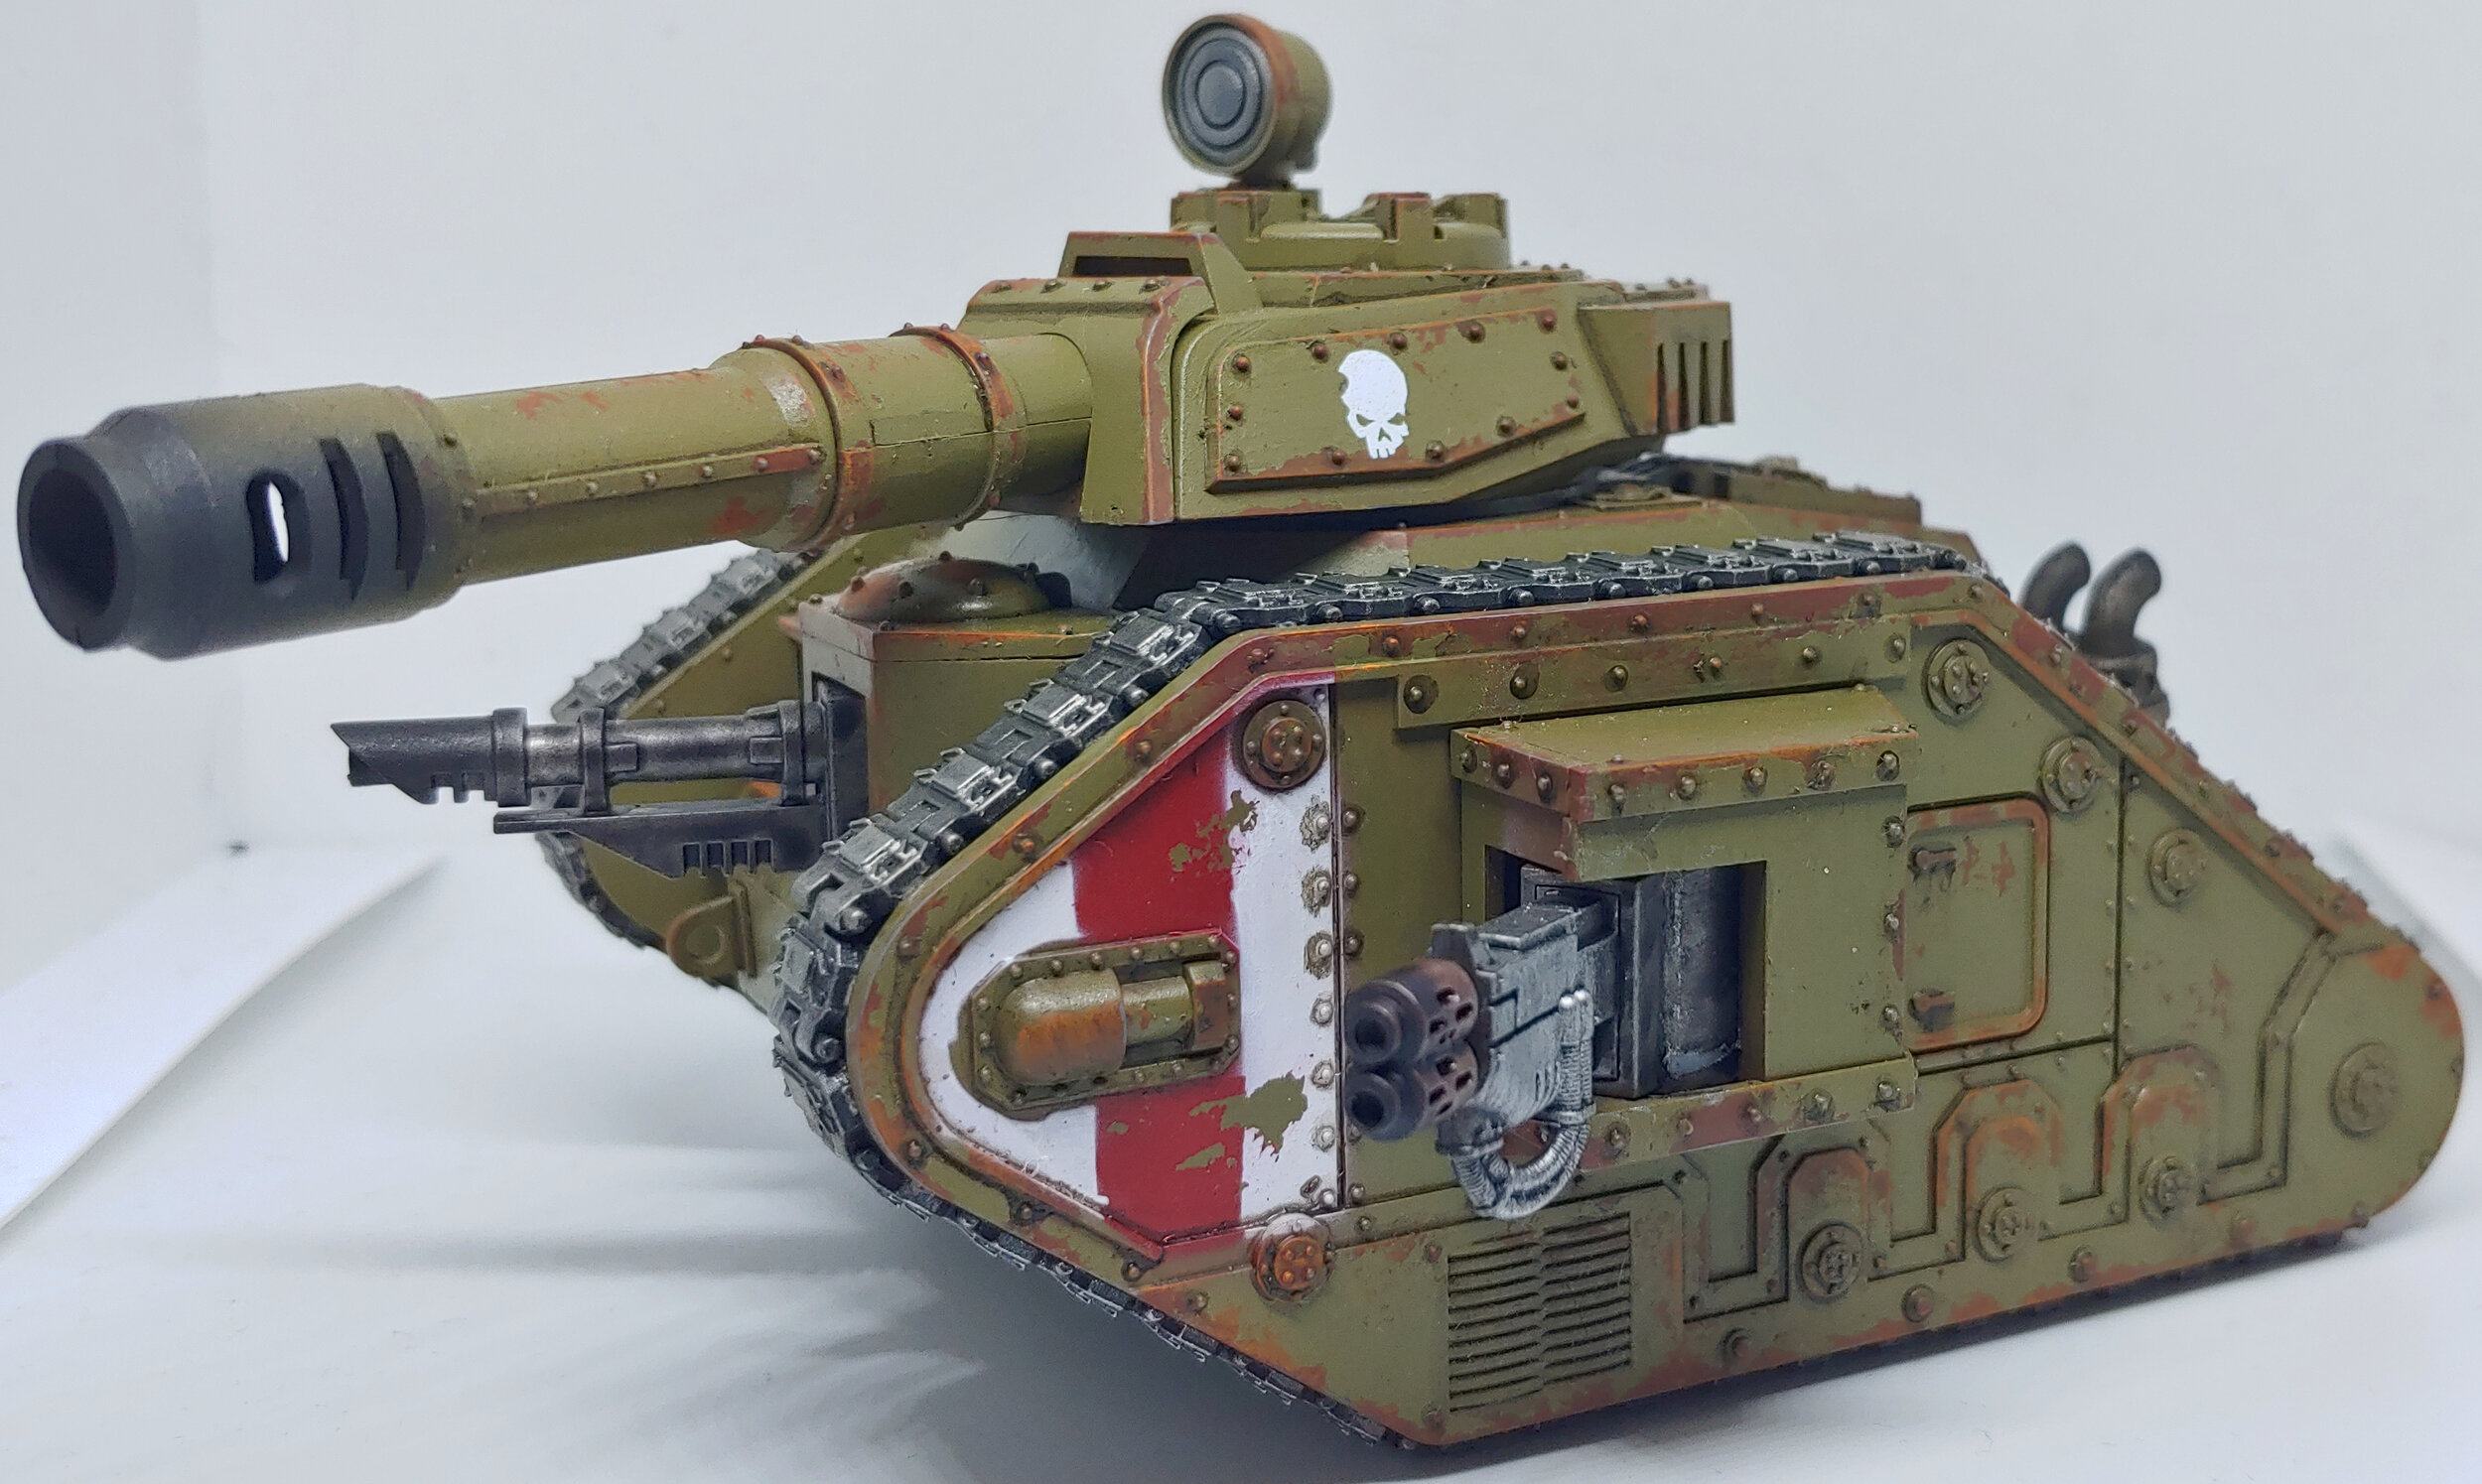
With the main hull down it was time to make a start on the detailing, I started by basecoating the lascannons, multi-meltas and the engine exhaust with Leadbelcher. I picked out the Imperial aquila on the turret and the wings on the engine block with Scale75 Dwarven Gold. First time using it and I was really impressed, it will almost certainly replace Retributor Armour for me. I will have to look at the other Scale75 metallics as well. The skull on the engine block I painted with a couple thin coats of Army Painter Skeleton Bone. The last thing I did, and admittedly I should have done this first, was the markings near the front of the tracks. As I was painting this in British First World War colours, I felt it was only fitting to use First World War markings. Fortunately, not too far from me there is a preserved Mark IV tank which I used as inspiration. I masked off an area with masking tape, and dabbed on a few spots of the latex liquid mask. Once it was dry I gave the area a couple of thin coats of Mephiston Red. I then masked off a central strip and coated the area again, this time with Ceramite White as it was the only pure white I had on hand. I gave it a couple of hours to dry fully, then carefully removed the latex mask. In hindsight, I should have used a brush instead of an airbrush as in a couple of places it was able to get under the masking tape and I needed to do a couple of touch ups.

The Ashford Tank showing markings. Image courtesy of https://www.atlasobscura.com/places/mark-iv-world-war-i-tank
However, that was the end of the detailing and I was able to move onto washes. Using Ammo’s Dark Brown Wash for Green Vehicles I did a pin wash in all the recesses around the tank. I let it dry for a couple of hours then came back with some enamel thinner to tidy up any spillages. For the gold and bone parts I used a bit of AK Interactive’s Track Wash. It was at this point that I had completely forgotten about the track links, so I quickly primed them in black and gave them a couple of thin coats of Vallejo Metallic Colour Magnesium. I then washed the track links and any metallic areas on the hull with Basillicanum Grey then gave them a dry brush with Necron Compound. This did however, leave the engine exhausts a bit brighter than I would have liked so I then gave them a wash with AK Interactive Track Wash. For the melta barrels, I painted them with Balthasar Gold then to achieve the heat burn effect I washed the whole barrel with Nuln Oil, then the front two thirds with Purple Tone and finally the front third with Drakenhof Nightshade. To finish the barrels of the weapons off, I used a bit of Greenstuff World’s Liquid Pigment Black Soot through my airbrush.
Overall, I’m really pleased with how this turned out. Although for my next Leman Russ, and there will definitely be a next time, I think I’ll take a bit more care with the order of things. For example, I should have completed the detailing, or at least the markings, before removing the latex mask. And I should have applied the transfers before I did the pin wash so I could weather them a bit easier. Also, I should have filled the gap on the barrel halves, it does look rather obvious. Oh well, life is a journey.