Warhammer 40,000 - Plagueburst Crawler

This is a more intricate model than I had anticipated. Having previously only experienced Space Marine and Imperial Guard vehicles, which are basically boxes with a turret on, I had envisioned slapping this Plagueburst Crawler together while the washes on my Blightlord Terminators dried. However, it took me most of an afternoon to put this creepy crawly together. For weapon options, I decided on the Rothail Volley Gun and Entropy Cannon sponsons because they sound fun and I’m a sucker for multi-barrelled anything. As far as subassemblies go, I left the main cannon, sponsons and dozer blade seperate to make painting easier and as they would be primarily metallic I could prime them black instead of red. I also left the top portion of the hull unglued as I felt the sides covered too much detail. The sides would eventually be covered anyway but they look too much fun to paint and weather to permanently hide under the side armour.

As mentioned, the main gun, sponsons and dozer blade were undercoated with Army Painter Matt Black spray primer. Black undercoats may have fallen out of favour these days for grey but I still prefer them for painting metallics. The rest of the hull I undercoated with Vallejo’s German Red Brown primer using an airbrush, this will form the base rust colour that we’ll later expose with chipping fluid. To give the rust a bit more dimension I airbrushed in some Vallejo Camouflage Medium Brown in the recesses at the base of panels. Then I drybrushed the whole model with Ryza Rust so the model had light, mid and dark tones of rust. With the rust layer established I gave all anywhere there would be a chipping a couple of thin coats of Vallejo’s Chipping Medium. Always tricky airbrushing something transparent, unless you mentally keep track it can be easy to forget which parts have already been done.
Next came one of the single most painful experiences of my life. I don’t know what it is about Death Guard Green but it just does not like to be put through an airbrush. In the end, after nearly pulling all my hair out, I gave up and brushed it on in as thin a coat as I could possibly go. Conversely, Vallejo’s Metal Colour Magnesium sprayed on like a dream, probably because it’s formulated for use with airbrushes. In no time at all, I got the sides, tracks and main cannon base coated in silver.

With the base colours done, it was time to have some fun with weathering. So, I dabbed some water on a small area that I wanted the chipping to go, waited about a minute then used an old toothbrush to remove the top layer of Death Guard Green and expose the rust underneath. The key is to be gentle, the primer is tough but not that tough and it is easy to accidentally scrub down to bear plastic. I worked slowly around the model, in particular chipping on edges and around the blisters in the armour. Once I was happy that the Plagueburst Crawler was suitably chipped and scuffed I gave a coat of matt varnish. It wouldn’t do to complete all that lovely chipping only to accidentally reactive the chipping medium with a water-based paint.
With the chipping done, I could get started on the details. Which for a Plagueburst Crawler, is mostly just bronze trim. It was at this point that I realised I could have left the spikes on the top of the hull off and painted them separately. In any case, I got everything I needed to basecoated with Balthasar Gold. Next I picked out the various silver bits that were too small to get with the airbrush using Leadbelcher, in particular the various pits and pock marks in the hull. There were a couple of flesh tubes on the sponson guns that needed some Rakarth Flesh and a bit of bone poking through the hull on the front that I painted with Skeleton Bone.
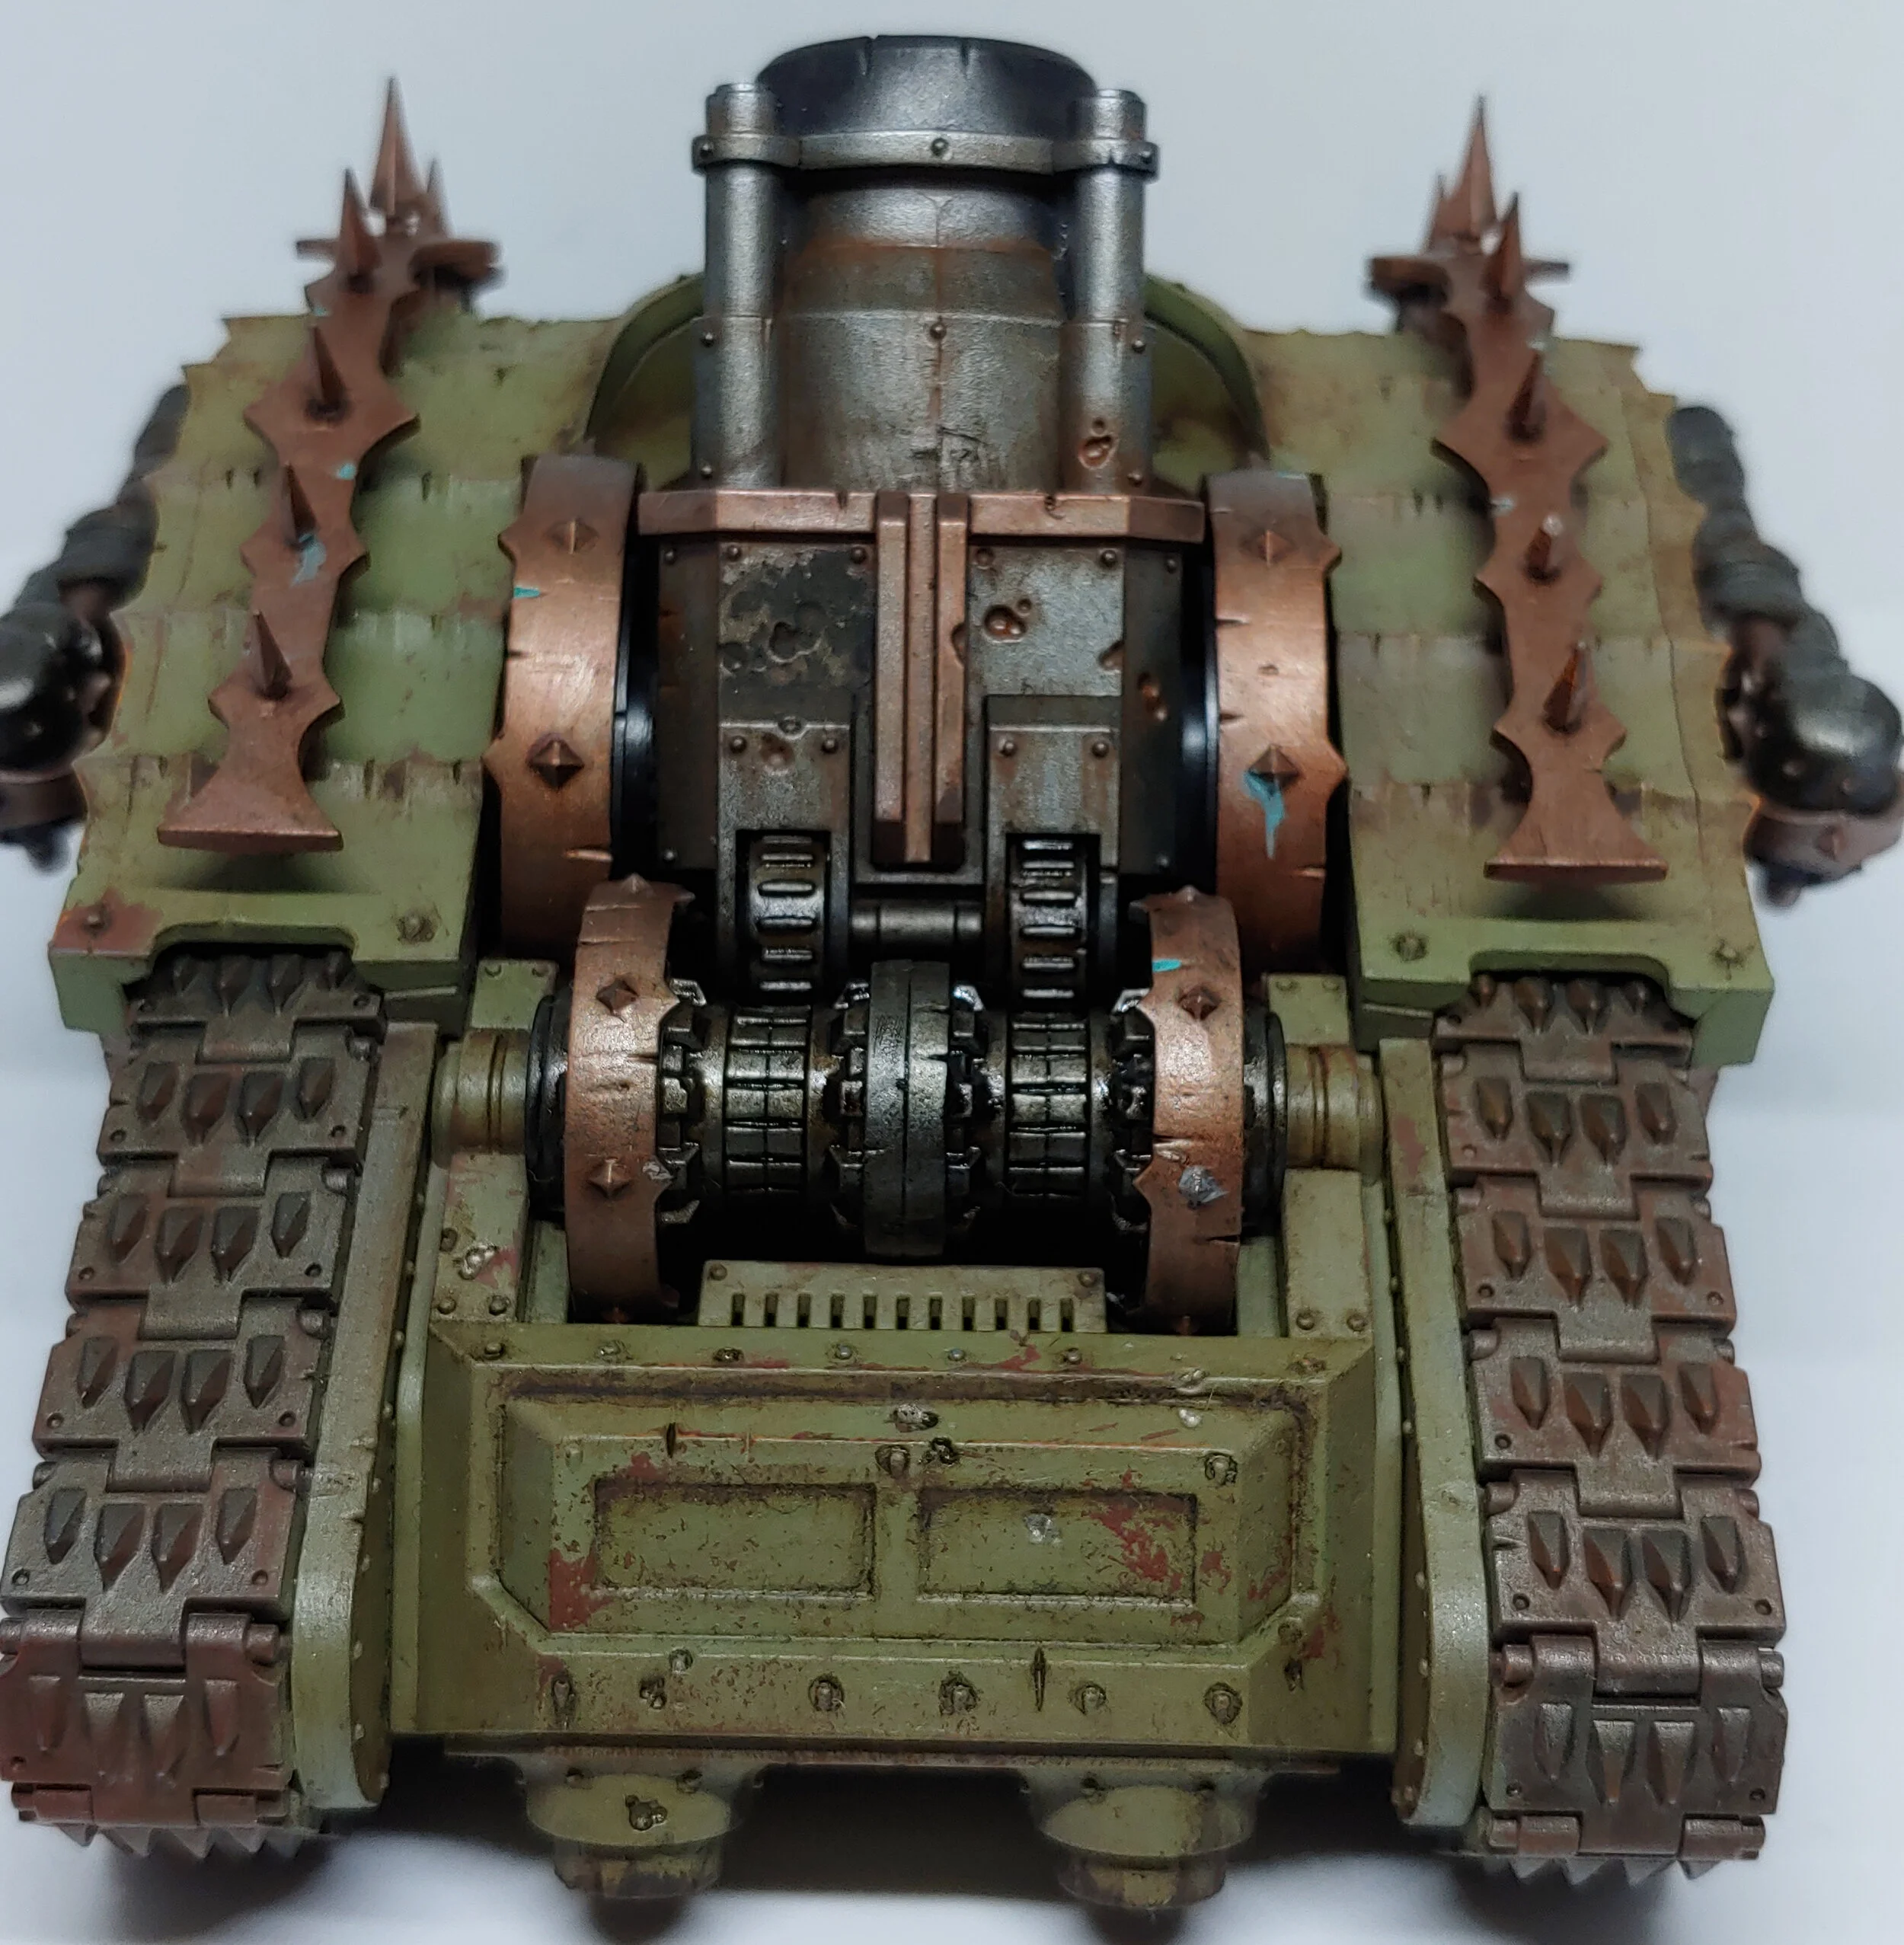
Once the details were done it was time for washes. I was a little tempted to see if I could get this build done with purely enamel washes but I decided against it, although the only non-enamels I did use were Strong Tone for all the bronze trim and later on, Reikland Fleshshade for the fleshy tubes. For the armour plates, I decided to use what I had learned doing the Foetid Bloat-drone and painted a small amount of Ammo’s Streaking Grime at the top of each plate and using a brush barely damp with enamel thinner to blend and streak it down. You can do this immediately after applying the Streaking Grime but I had better results waiting until it was at least touch dry, if not waiting at least half an hour. Next, I used Ammo’s Dark Brown Wash for Green Vehicles to do a pin wash, which basically involves loading up a thin brush with the wash then touching it (not brushing) to recess and small details like rivets. As enamel washes have much lower surface tension than water based paints capillary action sucks the wash into all the nooks and crannies. I could have helped this by using a gloss varnish rather than a matt varnish after the chipping stage but I wasn’t too fussed. Then like the Streaking Grime I used a damp brush to blend and streak the wash. As this was a couple days after the Streaking Grime I wasn’t worried about the enamel thinner rubbing it away. Enamels might take a long time to cure but after a day or so, they’re pretty much set. For the guns, I basically did a pin wash but with Ammo’s Rust Streaks instead, I did use a bit more wash than I would normally but that was so that I could have bigger streaks of rust. Finally, I use AK Interactive’s Track Wash to wash, you guessed it, the tracks. Once it was dry I used a slightly damp makeup sponge to blend it slightly, the idea was for the tracks to be dirty and used but not so much that it covers up the chipping. The final “wash” that I did was to use something that I’ve been keen to use for a little while now. And that would be oil paints. I managed to track down some Abteilung 502 Engine Grease oil paint. My first test was not the best, I used some enamel thinner to thin it with, but that just meant it took ages (even by oil paint standards) to dry and even then just wiped straight off. So, for the real deal I got myself some white spirit to thin the paint with. I didn’t thin it very much, certainly not down to wash consistency but thinner than acrylic paints normally are. Sufficiently thinned, I painted it over the entire side of the Plagueburst Crawler, left it a couple of hours to dry a bit then wiped away the excess with a makeup sponge. I then left it a couple of days in the hopes it would fully cure off, I didn’t want to varnish as it had a really nice oily/satin finish. In any case, I was content to leave it for the time being.

Shame most of this gets covered up by the side armour
The very last things I needed to do was the final bits of weathering. Using my airbrush I built up a small amount of soot around the gun barrels using Greenstuff World’s Liquid Pigment Black Soot. I used some Creed Camo contrast paint to create toxic streaks near the pits and holes in the hull. I chose a contrast paint because it’s slight transparency produces better looking streakings; after all in the real world grimy streaks are rarely opaque. Next, I used some Typhus Corrosion to create areas of, well, corrosion. I find the best way to apply is to stipple it on with an old brush, which creates a nice messy pattern. Once it’s dry I can drybrush on some Ryza Rust to capture that raised texture. Last but not least, I some NIhilakh Oxide to give some of the bronze trim a look of some verdigris weathering.
Overall, I’m really pleased with how this Plagueburst Crawler turned out. Despite the trouble I had with airbrushing Death Guard Green I would almost be tempted to something like this again. I enjoyed playing with oil paints and I’ll definitely use Engine Grease for further projects, although I might pick up some satin varnish so I can get seal it without losing any of that oil and greasy finish to it. Or maybe make a drying box, I think Marco Frisoni had a video on how to make one.

Spin spin spin!